The build-up of wires and the resulting mess made the guest bedroom closet look displeasing. While I have about 13 inches of space behind the short wall and the HVAC return duct, I was loath to cut into the wall and build a recess to hold the network gear. After some brainstorming, I arrived at the cheap-mounting-on-the-wall solution that I implemented here.
I used the IKEA Skådis 22″ x 22″ pegboard, mounted by who sturdy screws into a stud. The bottom part of the pegboard just has a couple of stand-offs to keep it off the wall, it’s entirely suspended from the two top screws in the mounting bracket.
Instead of IKEA’s overpriced but neat-looking bungees, I went to Walmart and picked up a 20-pack of 10″ bungee cords for $5.
Below this is the UPS. This is heavy and I didn’t want it on the floor to get dusty and overheat, so I picked up a couple of IKEA “Ekby Stödis” shelf brackets and mounted them 7 inches apart below the pegboard and they support it fine. So far. It’ll make an ungodly racket if they fail.
To ensure it doesn’t get too hot in there, I picked up an AC Infinity Airplate S3 fan to blow air through the top of the closet into the closet in the adjacent bedroom. This closet is our guest bedroom, so keeping the fan quiet matters, and this one has a speed control (H/M/L/off) so I can turn it to low if we have guests and it’s USB powered so I don’t need to worry about an additional outlet to power it. I can plug it into the NAS, the router or Raspberry Pi, whatever is within cable reach.
For reference, temp hasn’t risen about 79F / 26C at the top of the closet with the fan off. Yet.
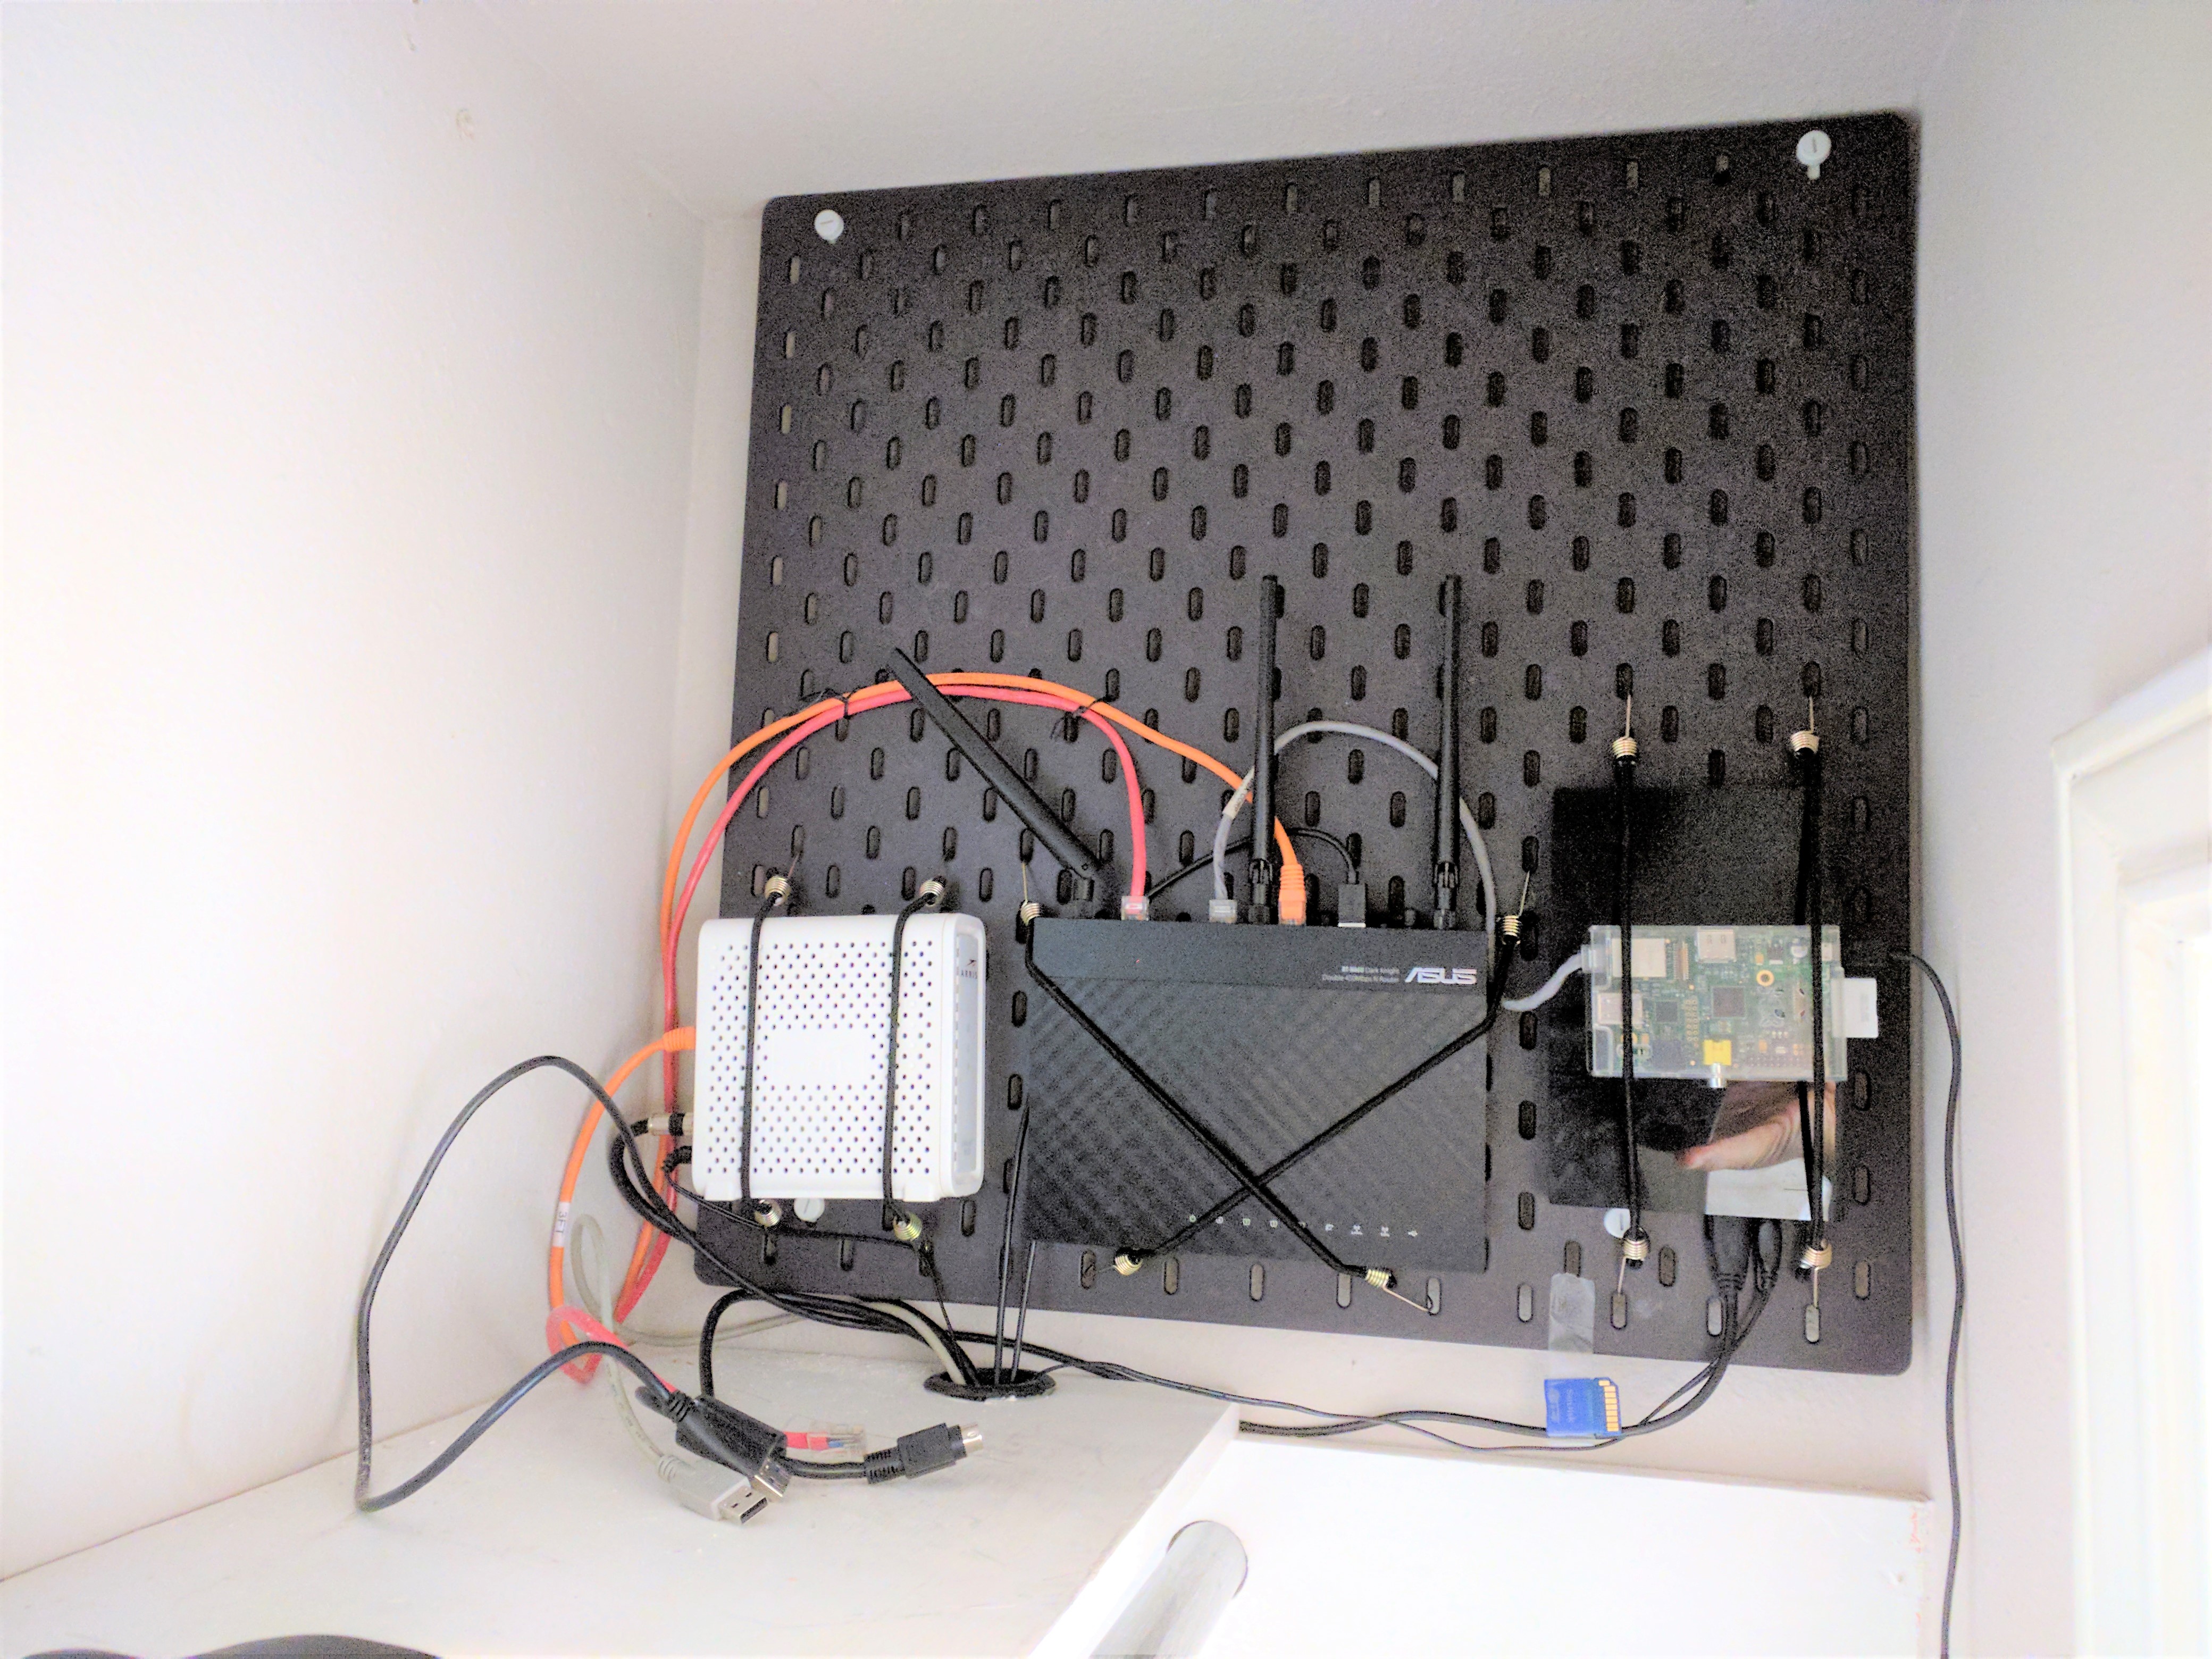
In the below pictures, you have the modem in white, the Asus router in the middle, and a 4TB backup drive (to backup the important stuff from the NAS) on the far right, with the Raspberry Pi on top of it. The Raspberry Pi runs the DNS sinkhole for ads, so everything connected to my network remains mostly ad-free.
The cabling is easily routed and wire-tied to the pegboard for easy organization, and shortly after this picture, I mounted the fan in a hole in the wall on the top left and a thermometer at the very top of the pegboard.
The lose cables on the shelf are for the NAS, as seen in the second picture. Power, RJ45, backup-drive USB and the USB control cable for the UPS, so the NAS does a graceful shutdown in case of a power outage.
The second picture was taken before the cabling and uncovered wall box were tidied up and covered, respectively.

Nice build – I found this will looking for ideas on same. This is a nice build, and I’m going to emulate it to some degree (possibly adding a mesh cage around it, so guests don’t need to be careful. Bonus points for installing a real outlet, and not chaining power strips.
Some feedback –
cutting holes in drywall is a major fire code violation. Extra bad if there’s a fan involved. Both mods shave minutes off your fire escape reaction time. Your home of xourse… but be aware your insurance company might not pay out in event of disaster.
Details like this can feel like bikeshedding, and I’m not exactly sure how to achieve code on this. I suspect the right direction is to use a use HVAC ducting to deal the opening, then install the fan into that. You may be able to find a fan with ducting and a duct flange built-in (something made for this purpose).
Thanks, and believe it or not, that ducting through the wall didn’t do squat to keep the equipment cooler. I found that what DID work was to get a cheapo $10 desk fan and pointing it at the equipment. It dropped the Raspberry Pi’s chip temp from 120f to about 100f. Oh, and I moved the ‘plate’ down to floor level too. It’s secure as it’s under a small printer stand, so nobody will kick it.
I did toy with the idea of HVAC ducting, but it would be tricky and more work than it’s worth – and I’d have to remember to shut it off when it’s heating season. haha
If you add a cage to yours, be sure it’s not metal. A sturdy plastic case would be good. Metal will make for a Faraday cage that would block your wifi signal.